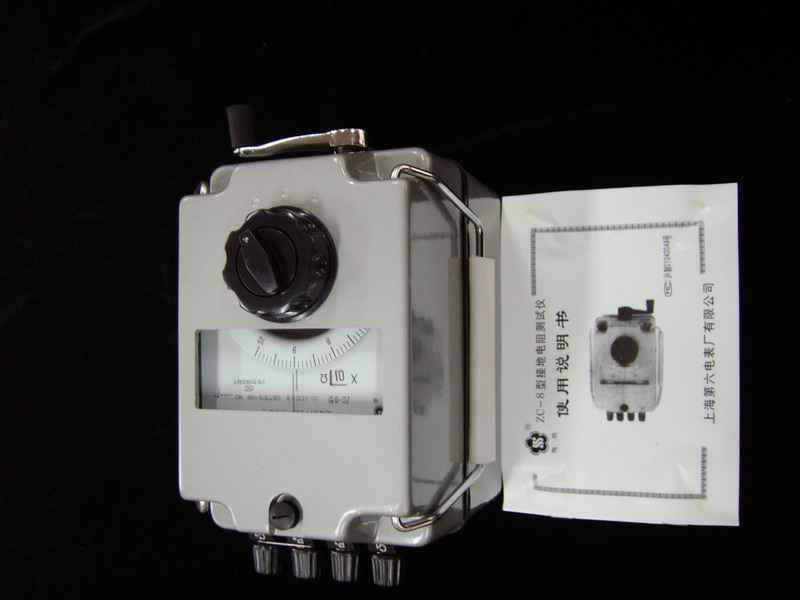
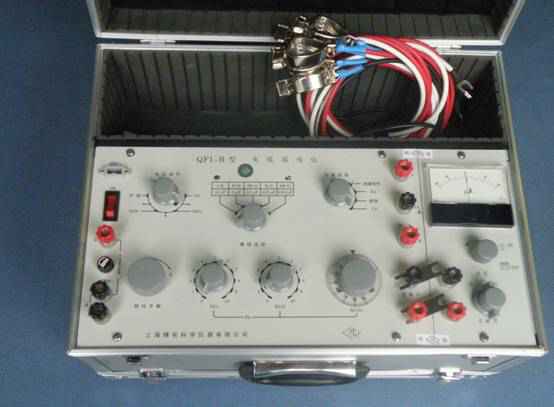
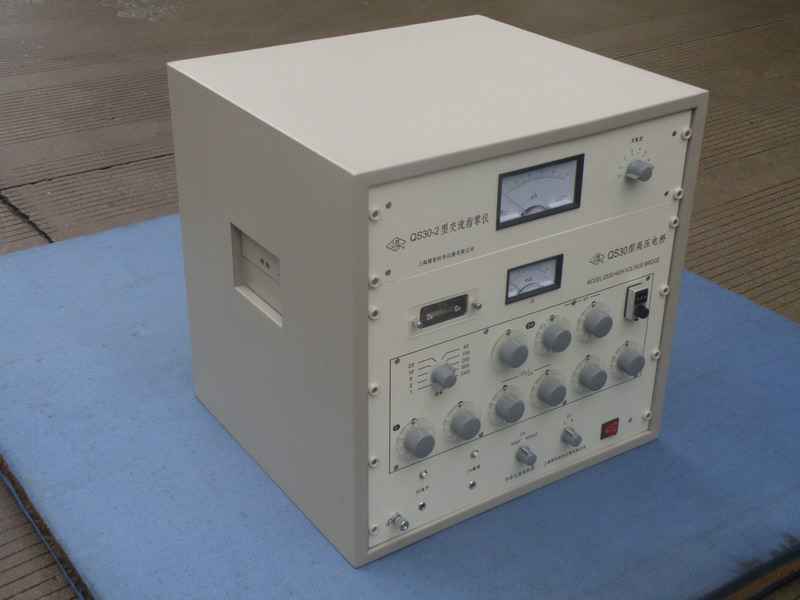
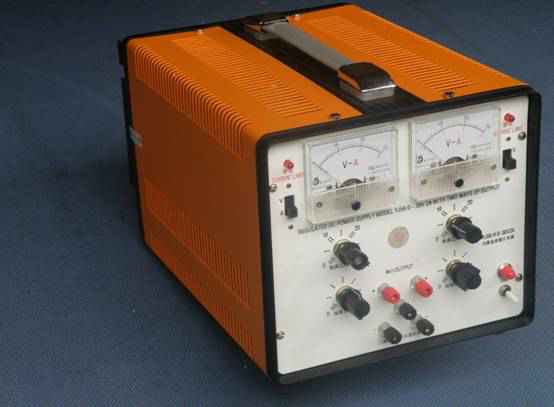
All You Need To Know About Die Cutting

Die cutting is very important in the making of printed materials. Its primary purpose is to cut clean and consistent edges for any material. However, many people do not understand what the process entails. Below is a guide on what die cutting is and its operation.

What Is Die Cutting?

In simple terms, it means the use of a die to create repeated cuts that are identical, from a material, with the help of a machine. It pretty much works like a cookie cutter. It mass produces cut out shapes needed for industries. You can cut the same shape, many times, hence saving you time, and ensuring that it is done professionally.

Points To Consider For Die Cut Labels

Below are some factors you should consider when making die cut labels. They will vary according to your needs and what vision you have.

• The Design Shape

It is crucial to check if the design will work when it is printed. This is because some labels may look fantastic, but not look the same after it is cut out.

• Avoid Sharp Corners

Having sharp corners and acute angels on the labels may cause it to tear once the matrix is removed after the cutting process is done. This will lead to waste that could have been avoided.

• Leave Enough Space

If you want to have some holes in the label, you will need to leave enough space between the shaft and the label edge. Leaving it thin will make it highly susceptible to tear during the removal process.

• Add A Bleed Area

To prevent any accidental white spaces on the label, it is advised to add a bleed area that will ensure that the artwork extends past the edges.

• Add A Die Line

Ensure that you add a line of the desired shape into your file. You should mark the die line in a specific color and a joined line on its layer.

There are manual and digital die cutting machines in the market. It is up to you to choose the one that you prefer. With the above guide, you can go ahead and start on the die cutting process without any problems. In case if any issues, you can ask an expert to help you out. They will advise you on where you may be going wrong and how to do it better. They can also help you create custom label prints for your business.

How To Use Die Cuts For Paper Crafting Projects And More!

Die cuts are a popular form of embellishment and the cutting machines themselves vary widely. Some can cut metal or other hard products, but most die cutting machines available in your local hobby store can do well with paper, cardstock or fabric. Crafting enthusiasts often wonder about the many uses of die cuts and how they can employ their use in crafting projects, which is what we hope to explain below.

Embellish And Create 3D Cards

Whether you’re designing your own wedding invitations or wishing your family happy holidays, handmade cards are both personal and unique. They offer the perfect extension of your personality and creativity. Die cuts, for example, can be used to embellish the cards with interesting patterns, flourishes or easily recognizable shapes. In fact, larger die cuts are used as the card itself! You’re no longer bound by the limitations of a rectangular or square card.

Did you know that die cuts are also ideal for creating panoramic or popup cards? They help cut seamless angles while adding artistic interest with minimal effort on your part.

Design Your Holiday Decorations

Die cuts are also ideal for manufacturing your own bunting or garlands. When Halloween or Thanksgiving comes around, you can decorate your home or office with specialty shapes cut from patterned scrapbooking paper or cardstock. In fact, even birthdays can feel more personalized with the name of the person being celebrated. The options are truly endless, especially as die cut companies create more and more designs and shapes for crafters to choose from.

Create Quilt Appliques

Quilt blocks look better when unique appliques are used to pull together your intended theme. Die cuts are perfectly doubled as appliques with seamless edges that are uniform and easily recreated. You can manufacture a large number of die cuts using the right machine, which is why quilters especially enjoy their benefits.

You’re not just limited to cutting thin quilting fabric. Most die cut machines themselves have the ability to cut canvas or even felt when the right settings are chosen. You can take your sewing creations to a whole new level with die cuts!

Meanwhile, there are still a number of manually operated die cut machines available in craft stores, most crafters are leaving their die cutting needs to technology. Modern die cut machines don’t limit you to the use of certain designer dies, but rather, allow you to create your own patterns or silhouettes.

Die Cutting Tips

Die cutting has been known to be an element in paper crafting. There are a number of tips that you can use when it comes to die cutting using an electronic die cut machine or a manual die cut machine. These tips and tricks include;

1. Extending The Life Of Your Cutting Mat

This can be done by spraying your mat with a cleaning solution such as magic eraser, then scrape the mat with a scraper preferably a plastic scrapper and remove all existing adhesive. You will then be required to cover the entire mat with a glue pen then let it dry. You should ensure that you use glue that serves as a temporary adhesive.

2. Get Clean And Precise Cuts

This is applicable when using an electronic die cut machine. The problem normally arises when you are working with thick paper or using intricate images. In order to achieve the best results, you can consider using the double cut choice before cutting which will ensure that the machine goes over the image twice ensuring a clean cut through thick fabric or material.

3. Create Chip Board Accents

In the event that intricate die cuts and embossing get lost in the project you are working on, you can consider turning them into chipboard establishments by first cutting the multiple copies of your die cut, then apply adhesive to the first die cut and then layer the second die cut on top of the first one. It is best to use liquid glue since it allows you to keep everything in line properly. After layering the second one you will then need to stack and adhere the remaining layers on top of each other which will bring out something similar to a chipboard.

4. Ensure Die Cut Accuracy

It is highly recommended that you use dies that can be able to coordinate with stamps so as to produce stunning results, however lining the dies up can be a bit tricky. You can do this by lining up your stamped images on a manual die cut machine, then take a post-it note and press the sticky side down over your die, then cover them with the cutting plate and run through the machine. Lastly, you will need to peel off the post-it notes from the die.

These are the various tips and tricks you can adopt when dealing with die cuts or attempting to try die cutting.